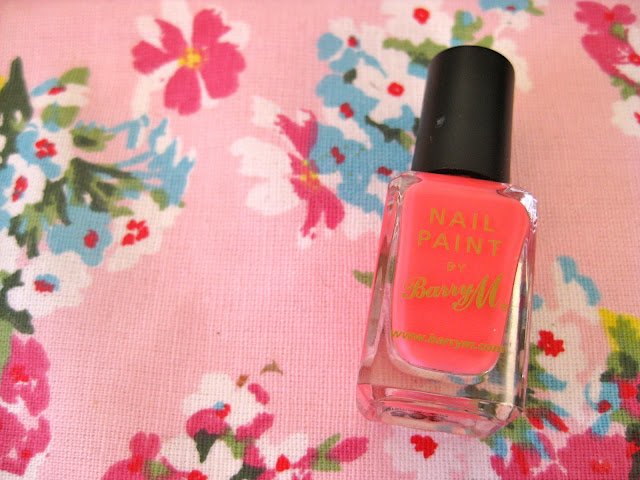
Hi lovelies! Today I am showing you how to create my pink gradient polkadot nails - it's super simple but so pretty! All you need are three nail polishes of your choice (shades that go well together would be a good idea), a kitchen sponge and a dotting tool (or bobby pin, pen, whatever you have). The polishes I used were a light baby pink by Barry M called 'Strawberry Ice Cream', a bright medium pink called 'Strawberry Lollipop' from H&M and the white Konad Special Polish.
Like I said above, this is a really easy manicure and you certainly don't need a special talent for nail art! Paint your nails in your chosen colour and let them dry thoroughly. Cut off a small piece from an unused kitchen sponge, drop a little bit of your second nail polish in a bowl or on newpaper and dip the sponge into it - gently dap the polish onto the tips of your nails and try to create a smooth gradient (you don't just want two blocks of colour). Wait for it to dry, and then use your dotting tool and your third nail polish to create the polkadots. I just add the dots randomly, but there are lots of different ways to do this! You could add a few large dots or lots and lots of tiny ones - it's all down to you! The last step of this manicure is adding a coat of topcoat, but make sure you let your dots dry a for a minute or two - if you paint on the topcoat too soon you might end up smudging your polkadots! And that's you done! Pretty easy, huh? If you decide to give this tutorial a go, I'd love to see how your nails turned out :)


